231-941-0215 sale@namkeenmachine.com 2707 Aero Park Drive Traverse City, MI
Eng
  • Eng
  • Deu
  • Fra

7 Tips for Choosing Shot Blasting Tools

Choosing Shot Blasting Tools is not just a question of machine price. The right setup must match the part, required surface condition, production rate, and available workspace. A small bracket and a long steel beam do not need the same blast pattern. Nor do they necessarily use the same abrasive or handling system.

The scale of the problem is significant. NACE International and CEBR’s 2016 IMPACT study estimated global corrosion costs at US$2.5 trillion annually, equal to 3.4% of global GDP. The report also noted that better corrosion management could reduce costs by 15–35%. These figures describe corrosion broadly; they are not a direct measure of shot blasting’s savings. Still, they show why dependable surface preparation deserves careful attention. A missed corner or uneven finish can create rework. Small details matter.

This guide presents seven practical points for evaluating equipment, from workpiece size and blast method to abrasive choice, dust collection, maintenance, and operator needs. It also considers throughput and finish requirements, since a machine that runs quickly may still produce inconsistent results. Check the machine’s specifications against your actual parts and process. Ask suppliers for application-specific evidence, not just headline capacity. And be realistic: a checklist cannot replace a production trial. That is worth remembering.
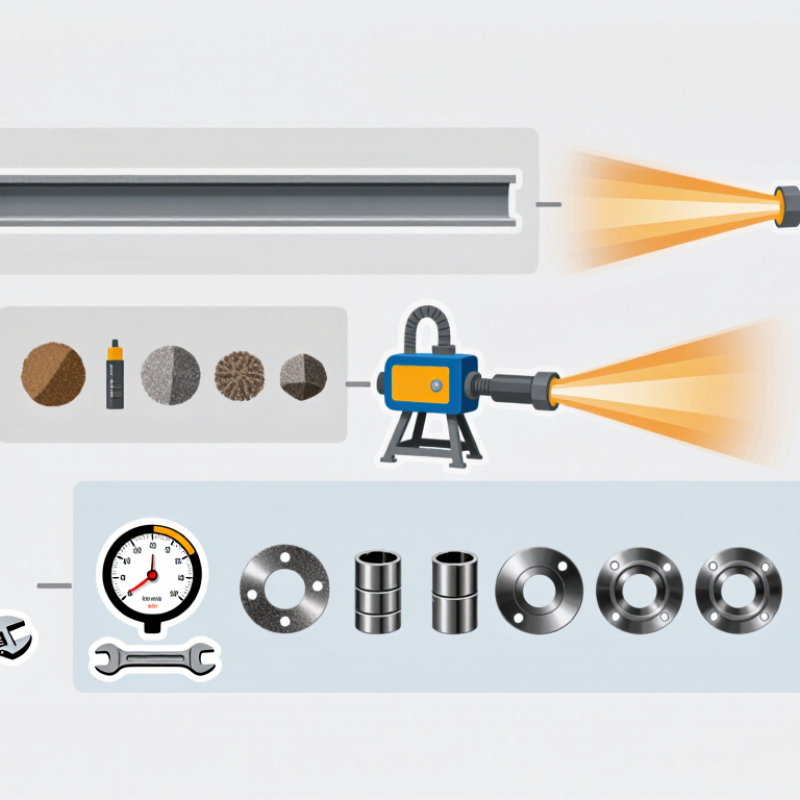
7 Tips for Choosing Shot Blasting Tools

Define the Surface Preparation Goal and Required Finish

Before choosing shot blasting tools, define what the surface must do: support a coating, remove mill scale, or prepare steel for inspection. A bright finish is not automatically a suitable one. Set the required cleanliness grade and surface profile from the coating specification, then refer to ISO 8501-1 for visual cleanliness and ISO 8503 for profile assessment. These standards guide inspection; they do not replace project requirements. It is easy to over-specify. A profile that is too shallow may hinder adhesion, while an unnecessarily deep profile can consume more coating.

Match the abrasive and machine settings to the target. Round shot generally peens the surface; angular grit cuts a sharper profile. A trial panel can reveal how the chosen media performs. Test one panel. Inspect weld toes, edges, and flat areas, then verify cleanliness and measure the profile with the specified method. Record abrasive size, wheel speed, and travel rate; settings that work on a flat plate may miss recessed areas. NACE International’s 2016 IMPACT study estimated global corrosion costs at US$2.5 trillion, or 3.4% of global GDP, and identified potential savings of 15–35% through improved corrosion control. That estimate covers many practices, not blasting alone, but it underscores the value of a measurable preparation target.

Match the Blasting Tool to the Workpiece Material and Shape

Choosing a shot blasting tool starts with the workpiece, not the machine’s advertised output. Rounded steel shot can clean and peen robust parts while leaving a less angular profile; angular grit cuts more aggressively but may damage thin sheet or soft alloys. For aluminum, delicate castings, or finished surfaces, reduce pressure and test a small area first. Check the corners. Recesses and narrow channels can remain dirty when the nozzle cannot reach them directly.

Shape matters just as much. A wheel-blast system suits repeatable batches of similar components, while a hand-directed pressure blast offers better control over varied contours and localized areas. ISO 8503-1 uses surface comparators for steel and describes profile bands including 25–60 μm and 60–100 μm. Treat these as inspection references, not automatic targets: coating requirements and substrate thickness still matter. I find profile choice easy to misjudge on curved parts; a flat test panel may not represent a pipe elbow or a ribbed casting. Record abrasive type, nozzle distance, and test results, then inspect both exposed faces and shadowed details.

Choose Compatible Abrasive Media and Blasting Equipment

Choosing compatible abrasive media and blasting equipment starts with the surface, not the machine. For light rust on thin sheet metal, fine, softer media can reduce the risk of warping or deep profile marks. Heavy scale on thick steel may need a more aggressive abrasive and a pressure-rated blast pot. Check the media’s size, hardness, shape, and reuse limits against the equipment manual. A mismatch can clog the metering valve or wear the nozzle faster. Small detail, big cost.

Air supply matters just as much. Compare the compressor’s delivered air volume at working pressure with the nozzle’s demand; tank size alone does not tell you whether the setup can sustain a steady blast. Match the dust collector to the abrasive and work area, too. NIOSH’s recommended exposure limit for respirable crystalline silica is 50 micrograms per cubic meter as a time-weighted average for up to 10 hours per day (NIOSH, Pocket Guide to Chemical Hazards). That is one reason to avoid silica-containing media and control dust at the source. Test a small area first. I’ve seen “close enough” settings leave a surprisingly uneven finish, so record the media, nozzle, pressure, and surface result before scaling up.

7 Tips for Choosing Shot Blasting Tools: Match Abrasive Media to Equipment

Abrasive density affects impact energy, but it is only one factor in media selection. Match the media type and size to the blasting equipment, surface material, and desired finish. Values shown are approximate solid-material densities, not bulk densities; check supplier specifications and equipment limits before use.

Compare Tool Performance, Adjustability, and Operating Costs

7 Tips for Choosing Shot Blasting Tools

Compare performance under real working conditions, not just advertised output. Ask how evenly a tool cleans a test piece with the same shape and surface scale as your parts. A fast pass is not useful if corners still need handwork. Check the edges. Also note dust control and abrasive recovery; poor containment can slow a shift and obscure the work area.

Adjustability matters when jobs change. Look for accessible controls for abrasive flow, pressure, and nozzle angle, where applicable. Operators should be able to make small, repeatable changes without stopping for a lengthy setup. Try the controls while wearing normal work gloves. Clumsy adjustment is easy to overlook during a brief demonstration. Keep a simple record of settings and results for each material and finish target.

Operating cost includes more than the purchase price. Compare power or compressed-air demand, abrasive consumption, replacement parts, and routine cleaning time. Ask how often wear components need inspection, and whether common service tasks require special tools. A cheaper unit may cost more across a year of frequent use. Estimate costs using your actual hours and media usage; that estimate can still miss unexpected downtime. Good records make comparisons more reliable.

Verify Safety Features, Maintenance Needs, and Supplier Support

Safety features deserve a hands-on check, not just a line on a specification sheet. Confirm that guards cover moving parts and that the emergency stop is easy to reach from the operator’s position. Ask how the machine controls dust, since poor visibility can hide surface defects and create avoidable exposure. Small details matter. Check that access doors and interlocks work as intended, and match the required protective equipment to the actual task.

Maintenance needs affect both uptime and finish quality. Ask how often nozzles, hoses, seals, and filters typically need inspection or replacement. Find out whether wear parts can be reached without dismantling half the machine. A clear maintenance schedule and simple service log help teams spot recurring problems early. Still, schedules are estimates; abrasive type, workload, and operating habits can change wear rates. It is easy to overlook that.

Supplier support matters after delivery, too. Ask whether manuals, operator training, troubleshooting, and replacement parts are available when needed. Test the response before buying: send a practical question about a common fault and see how clearly it is answered. Confirm expected response times and parts availability in writing. A polished sales conversation is reassuring, but it does not prove that help will be available on a busy production day.