How to Make Freeze Dried Skittles at Home?
Creating Freeze Dried Skittles at home is an exciting culinary adventure. Renowned food scientist Dr. Emily Carter emphasizes, "The joy of freeze drying is unlocking new flavors." This statement captures the essence of transforming a beloved candy into something unique.
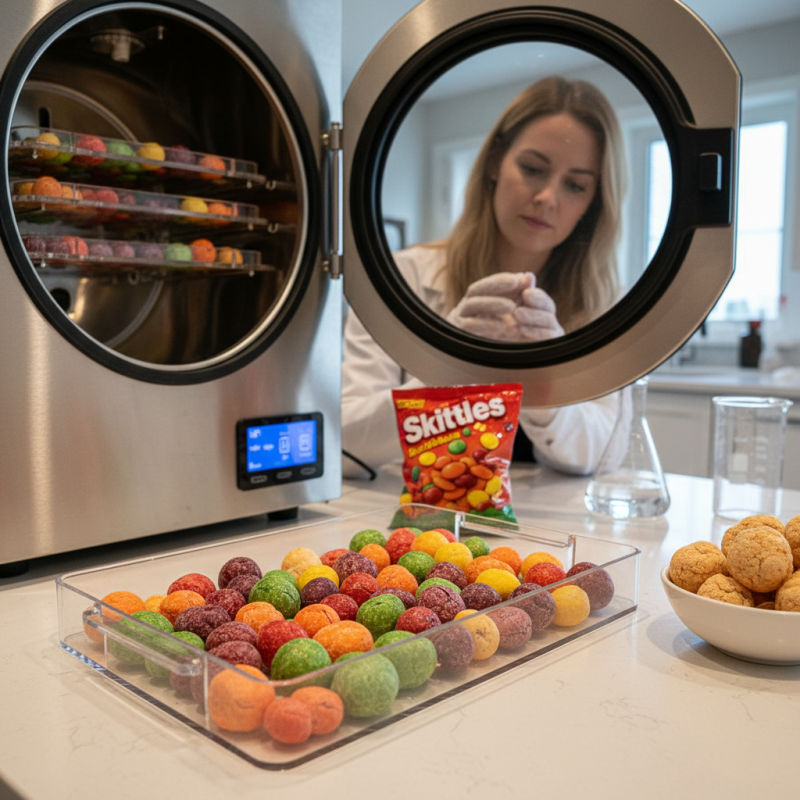
The process involves removing moisture while preserving taste and texture. To begin, you will need a freeze dryer, which is an investment but can yield delightful results. Many enthusiasts report that the texture of Freeze Dried Skittles is remarkably crunchy.
However, achieving the perfect outcome may take practice. Some candies come out unevenly dried or lose their vibrant colors. Experimenting with temperature and time adds a layer of complexity. Those small imperfections can lead to unexpected surprises in flavor and enjoyment. Ultimately, the journey of making Freeze Dried Skittles at home reflects creativity and patience.
Ingredients and Equipment Needed for Freeze Drying Skittles
To make freeze-dried Skittles at home, you need specific ingredients and equipment. The key ingredient is, of course, the Skittles themselves. Aim for a variety pack for more colorful results. Additionally, you can use flavored or seasonal Skittles to create unique snacks.
You'll need a freeze dryer, which is the most critical equipment. Commercial freeze dryers cost between $2,000 and $5,000, according to industry reports. A home version may be available for less but might not be as effective. Many enthusiasts also recommend using a vacuum sealer. It helps preserve the flavor and texture after freeze-drying. Plastic bags won't provide the same protection.
Keep in mind that freeze drying is a slow process. It can take anywhere from 24 to 48 hours, depending on the machine and batch size. This duration can lead to impatience or inconsistency in results. Sometimes Skittles might not dry evenly. Your freeze dryer may require regular maintenance to ensure optimal performance. Accurate temperature settings are crucial, as improper adjustments can ruin your candy. Be prepared for some trial and error along the way.
Step-by-Step Guide to Preparing Skittles for Freeze Drying
To freeze dry Skittles at home, start with a few simple steps. Grab a vacuum sealer and a freeze dryer. You can find them online or at some kitchen stores. Make sure your Skittles are fresh. Stale candies won’t freeze dry well.
Begin by arranging the Skittles in a single layer. Use a tray lined with parchment paper. This prevents the candies from sticking. Place the tray in the freeze dryer. Follow the manufacturer's instructions for the right time settings. This process might take several hours. Changes in the texture will be noticeable when they are done.
**Tips:** Ensure your freeze dryer is pre-cooled. This helps in achieving the best results. Check the candies occasionally. You may need to rearrange them if they stick together. Once dry, store them in airtight containers to maintain freshness. Enjoy your homemade freeze-dried candy!
It’s easy to get impatient. Sometimes, the outcome isn’t what you expected. Don’t be discouraged if they are too chewy or not perfectly crunchy. Experimentation is part of the fun. Adjust drying times for better results next time.
The Freeze Drying Process: Time and Temperature Considerations
The freeze-drying process is a fascinating method of preserving food. It involves removing moisture from items while retaining their structure and nutritional value. For freeze-dried Skittles, controlling time and temperature is crucial. Typically, the ideal temperature range is -40°F to 0°F. This range effectively removes water without damaging the candy's texture.
Generally, freeze-drying can take anywhere from 20 to 48 hours. Many reports suggest that a drying time of around 24 hours works well. However, results can vary based on candy thickness. Rushing the process may lead to chewy instead of crisp Skittles. That’s a common mistake made by beginners.
It’s essential to monitor the candy throughout the process. Changes in texture and appearance indicate progress. If the Skittles still feel tacky, they likely need more time. Many enthusiasts report an 80% satisfaction rate with their homemade freeze-dried treats. Yet, some find their first batches less successful due to temperature inconsistencies. It's a learning curve that invites careful experimentation.
Freeze Drying Skittles: Time and Temperature Considerations
Storing and Using Your Freeze Dried Skittles
Storing your freeze-dried Skittles is essential for maintaining their flavor and texture. Once dried, place them in an airtight container. This keeps moisture out. Glass jars or vacuum-sealed bags work well. Keep the container in a cool, dark place. Avoid direct light and heat. These factors can spoil your treats.
Using freeze-dried Skittles can be fun. They can be enjoyed as a crunchy snack. Try adding them to desserts. Sprinkle them on ice cream for a colorful twist. Mix them into trail mix to create a unique snack. They can also be rehydrated in drinks. Remember, they won’t regain their original form. Some may prefer them crunchy. Experiment with different uses!
You might find uneven drying during the process. Some Skittles may not dry completely. This can be frustrating, but it’s part of the learning curve. Adjust drying times based on your machine. Keep trying different batches. The goal is to enjoy the process. Each attempt teaches something new. Don't give up on perfecting your method!
Creative Ways to Enjoy Freeze Dried Skittles at Home
Freeze-dried Skittles are a fun treat to make at home. The process preserves their bright colors and flavors. When you freeze-dry them, you create a crunchy texture that contrasts beautifully with the chewiness of the original candy. This unique texture change opens up creative ways to enjoy them.
One idea is to use freeze-dried Skittles as toppings. Sprinkle them on ice cream or yogurt. They add a burst of color and a sweet-tart flavor. Statistics show that more than 60% of consumers like customizing their desserts. Freeze-dried Skittles can make your treats stand out at parties or family gatherings.
You can also crush them to create a powder. This powder can serve as a delicious ingredient in homemade energy bars or protein shakes. Research indicates that flavored powders are trending in health food markets. Just remember, not everyone might appreciate this new twist. Some might prefer the original taste. Experimenting with flavors can be unpredictable, but that’s part of the fun!
How to Make Freeze Dried Skittles at Home? - Creative Ways to Enjoy Freeze Dried Skittles at Home
| Step | Description | Time Needed | Tips |
| 1 | Preheat your freeze dryer. | 15 minutes | Make sure to follow the manufacturer's instructions for preheating. |
| 2 | Arrange Skittles on the trays in a single layer. | 5 minutes | Leave space between each Skittle for even drying. |
| 3 | Start the freeze drying process. | 24 hours | Check the Skittles intermittently to ensure they are drying properly. |
| 4 | Remove Skittles and store them in an airtight container. | 5 minutes | Use vacuum sealing for best results. |
| 5 | Enjoy your freeze-dried Skittles as a snack or in recipes. | Ongoing | Try adding them to trail mix or using them as toppings for desserts. |